DIY Irrigation System Installation: A Step-by-Step Guide for Florida Residents
JR
For Florida residents looking to maintain lush, green lawns and flourishing gardens, an efficient irrigation system is a must. Installing a DIY irrigation system can be a cost-effective way to ensure your landscape receives the right amount of water, even during the state's dry spells. This guide will walk you through the process, making it easy to set up your system at home.
Planning Your Irrigation System
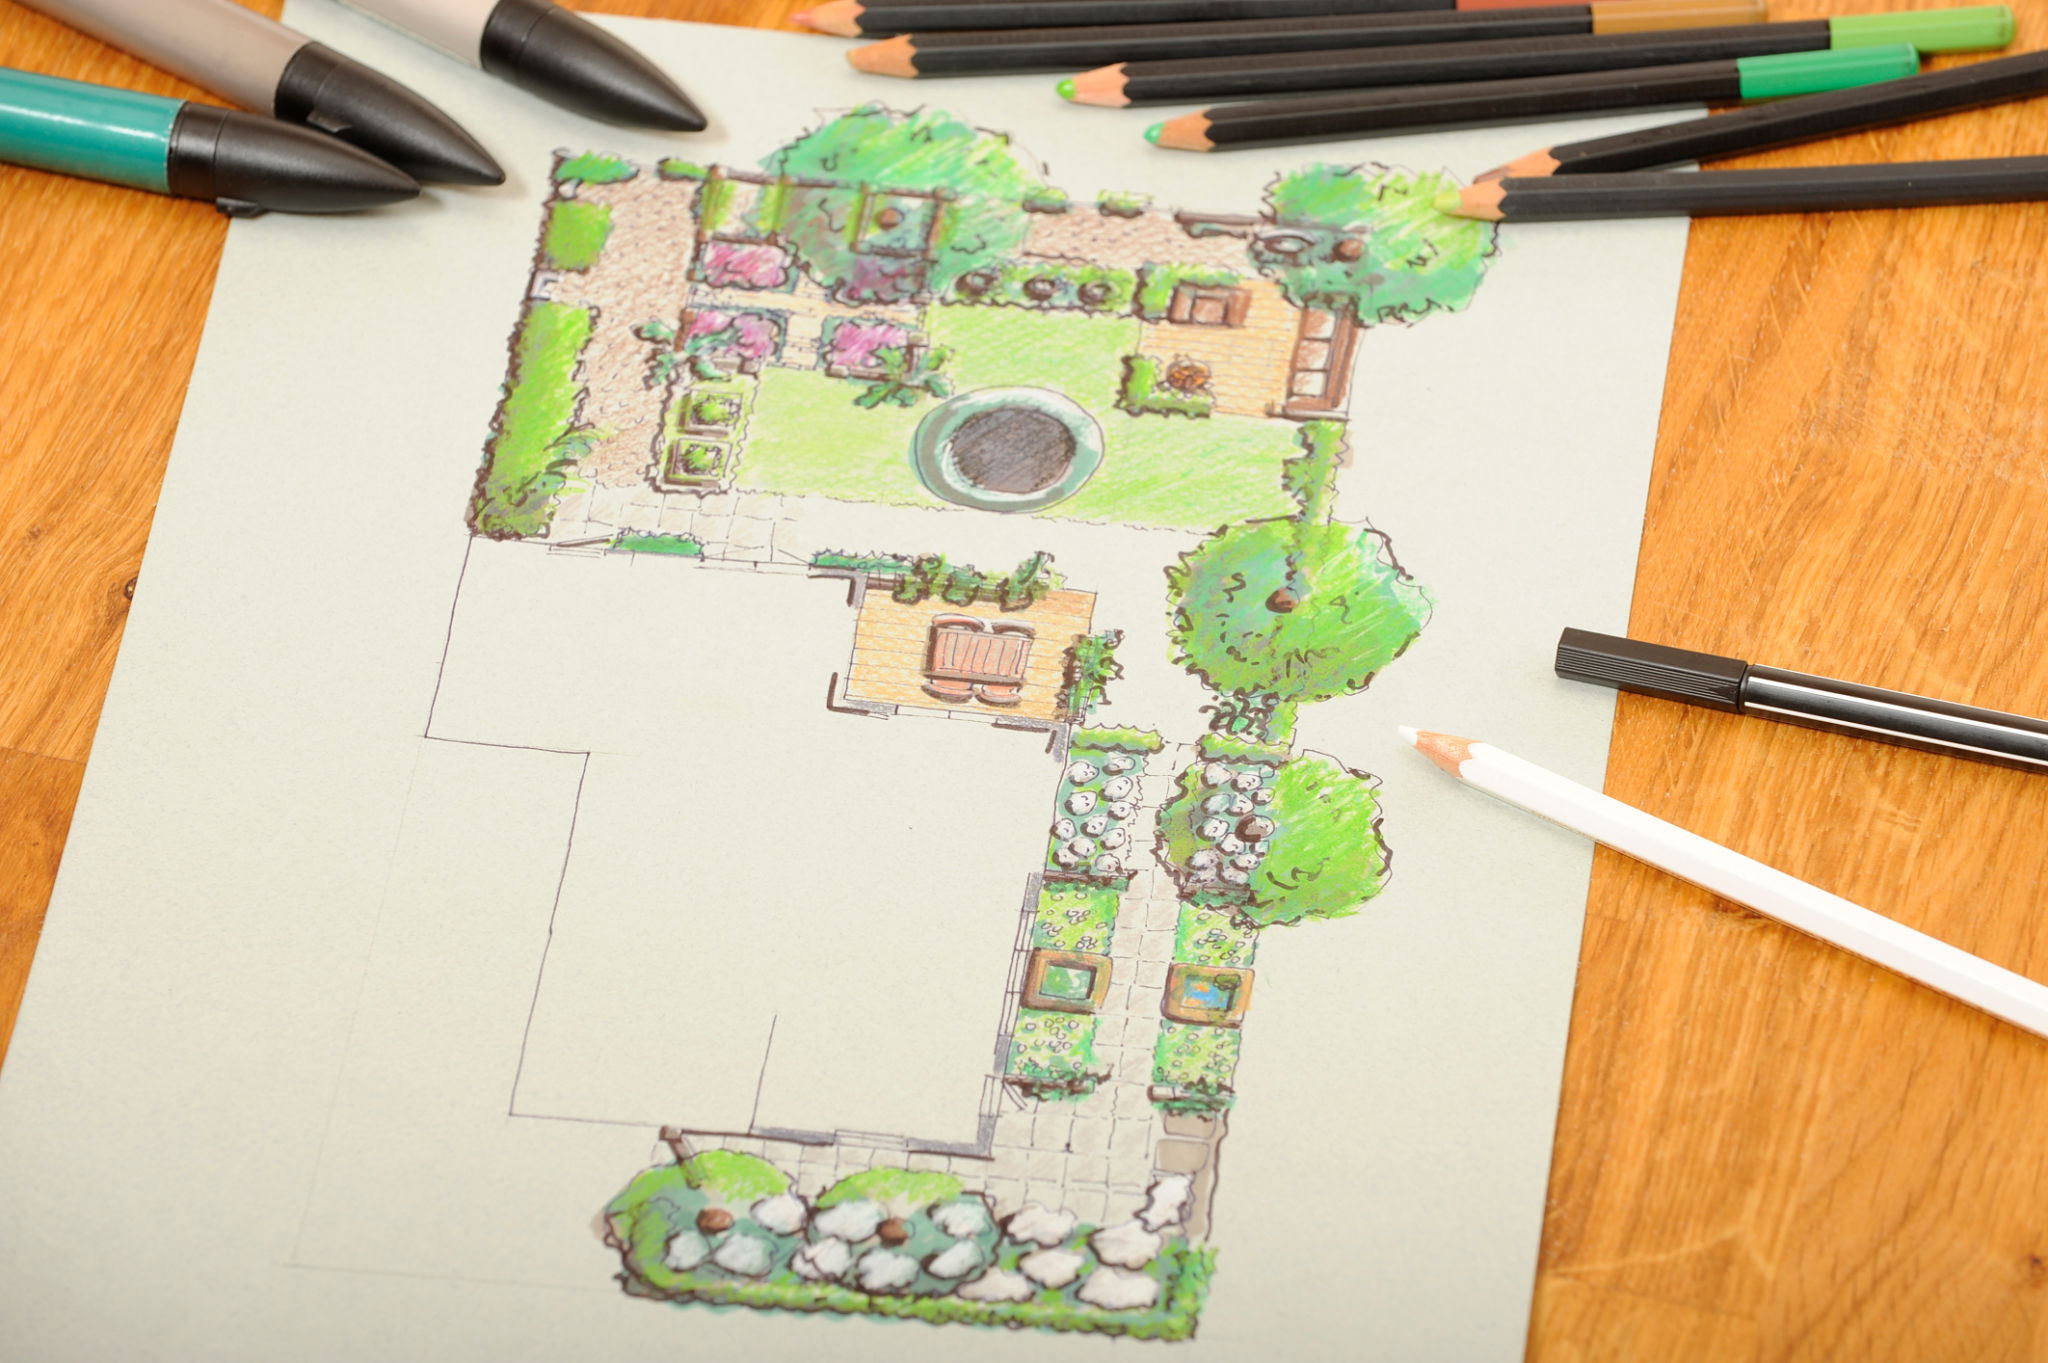
The first step in installing a DIY irrigation system is planning. It's crucial to assess your yard's needs and design a system that will cover all areas efficiently. Begin by mapping out your garden and lawn, noting different plant types and their specific water requirements.
Consider factors such as the size of your lawn, the types of plants you have, and the sun exposure they receive. This information will help you determine how many sprinkler heads or drip lines you'll need and where to place them for optimal coverage.
Selecting the Right Components
Once you have a plan in place, it's time to choose the components for your irrigation system. The main components include pipes, sprinkler heads, timers, and connectors. For most Florida landscapes, a combination of sprinklers for lawns and drip irrigation for garden beds works best.
When selecting components, opt for high-quality materials that can withstand Florida's humid climate and resist wear over time. Look for adjustable sprinkler heads that allow you to fine-tune the water distribution according to your landscape's needs.
Installation Process
With your plan and components ready, you can start the installation process. Begin by laying out the main supply line from your water source. Use a trenching tool to dig trenches for the pipes, ensuring they're deep enough to avoid damage from lawnmowers or foot traffic.
- Lay down the mainline pipe and secure it with stakes or clips.
- Install the sprinkler heads and drip lines according to your plan.
- Connect the system to a timer to automate watering schedules.

Testing and Adjustments
After installation, it's important to test your system to ensure it's functioning correctly. Turn on the water and observe each section for leaks or areas with insufficient coverage. Adjust the sprinkler heads as needed to ensure even distribution across your lawn and garden beds.
If you're using a timer, program it according to your plants' watering needs. Keep in mind that Florida's climate may require more frequent watering during dry seasons. Regularly check your system for clogs or damage and perform maintenance as needed to keep it running smoothly.
Benefits of DIY Irrigation
Installing a DIY irrigation system offers numerous benefits for Florida residents. Not only does it save money on professional installation costs, but it also allows for customizable solutions tailored to your landscape's unique requirements. A well-installed system can lead to healthier plants, reduced water waste, and lower utility bills.

By following these steps, you can successfully install an efficient irrigation system that keeps your Florida garden thriving year-round. With a little planning and effort, you'll enjoy the satisfaction of maintaining a beautiful landscape while conserving water and supporting the local ecosystem.